Embroidery Fill Stitches
Embroidery is a beautiful art form that dates back centuries. The use of embroidery fill stitches has been an important aspect of this art form throughout the ages. Fill stitches can add texture and depth to an embroidery design, but many people struggle with mastering these stitches. In this article, we will explore embroidery fill stitches in-depth, helping you to perfect this technique and enhance your embroidery skills.
Pain Points Related to Embroidery Fill Stitches
Embroidery fill stitches are often seen as a challenge for those new to embroidery, as well as for experienced embroiderers. Achieving an even and smooth fill can be difficult, and many people struggle to keep the stitches tight and evenly spaced. The risk of puckering and warping is high, and some people may get frustrated with the process and give up altogether.
The Target of Embroidery Fill Stitches
The target of embroidery fill stitches is to add color and texture to an embroidery design. Fill stitches are used to fill in large areas of fabric with thread, creating a smooth and even surface. They can be used to create a range of effects, including solid colors, gradients, and shading.
Summary of the Article's Main Points
In this article, we will explore the world of embroidery fill stitches, including their target and common pain points. We will delve into some popular fill stitches and examine how to execute them properly.
The Split Stitch
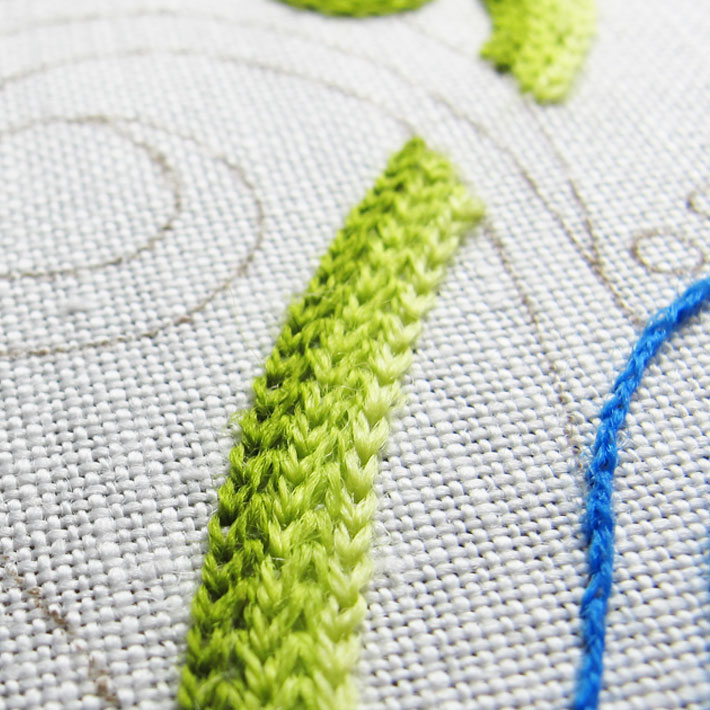
The split stitch is a great fill stitch to begin with. It is simple to execute and is ideal for creating a textured look. To execute the split stitch, bring your needle up through the fabric and insert it back into the same hole. Next, bring the needle up through the fabric a short distance away and split the thread between the two stitches. Continue in this manner until the entire section is complete.

The split stitch can be used to create beautiful and intricate designs. It is a versatile stitch that can be used both as a fill stitch and as an outlining stitch for a finer texture.
The Stem Stitch
The stem stitch is another great fill stitch that can be used to create a smooth and even fill. This stitch is perfect for creating curves and lines and is often used to create floral and botanical designs. Start by bringing your needle up through the fabric and taking a small stitch to the right or left. Then, bring the needle up through the fabric a short distance away, keeping the thread to the right or left of the previous stitch.
The stem stitch can be used in a range of embroidery designs. Experiment with different thicknesses and colors to create a distinctive and unique look.
Related Keywords
Embroidery fill stitches, split stitch, stem stitch, texture, gradient, shading
Using the Backstitch for Fill Stitches
Backstitch is another option for a fill stitch. This stitch is similar to the split stitch but creates a bolder look. Start by bringing your needle up through the fabric and creating a stitch of the desired length. Then, bring your needle up a short distance away from the first stitch and take another stitch, making sure to overlap the previous stitch.
Question and Answer
What is the difference between an outline stitch and a fill stitch?
An outline stitch is used to create a defined line or boundary within an embroidery design. A fill stitch, on the other hand, is used to fill in large areas of fabric with thread.
What materials do I need to create fill stitches?
You will need an embroidery hoop, needles, embroidery thread, and fabric. It is important to use a high-quality embroidery thread to ensure that your stitches are even and consistent.
How can I avoid puckering and warping when working with fill stitches?
Make sure that your stitches are tight and even, and use a stabilizer to give your fabric extra support. Working slowly and carefully, and using a good-quality fabric, can also help to prevent puckering and warping.
What are some popular fill stitches for beginners?
Some popular fill stitches for beginners include the split stitch, the backstitch, and the stem stitch. These stitches are easy to execute and create beautiful effects.
Conclusion of Embroidery Fill Stitches
Embroidery fill stitches are an essential aspect of any embroidery design. Whether you are a beginner or an experienced embroiderer, learning how to execute fill stitches properly can take your embroidery skills to the next level. By following the tips and techniques outlined in this article, you can master embroidery fill stitches and create beautiful embroidery designs that showcase your creativity and skill.
Gallery
What Is Crewel Embroidery? | Craftsy | Craftsy
Photo Credit by: bing.com / embroidery crewel stitches craftsy siterubix
How To Use Split Stitch As A Fill Stitch - Video | Shiny Happy World
Photo Credit by: bing.com / stitch split fill use video embroidery normally outline but
Embroidery Fill Stitch | Embroidered | Pinterest | Embroidery, Stitch

Photo Credit by: bing.com / embroidery stitch fill stitches filling hand satin
Filling Stitches For Hand Embroidery | Diy Embroidery Designs, Learn

Photo Credit by: bing.com /
16 Filling Stitches For Embroidery – NeedlenThread.com
Photo Credit by: bing.com / embroidery stitches filling stitch needlenthread patterns hand fill blackwork tutorial satin nuts needlepoint machine choose board techniques
